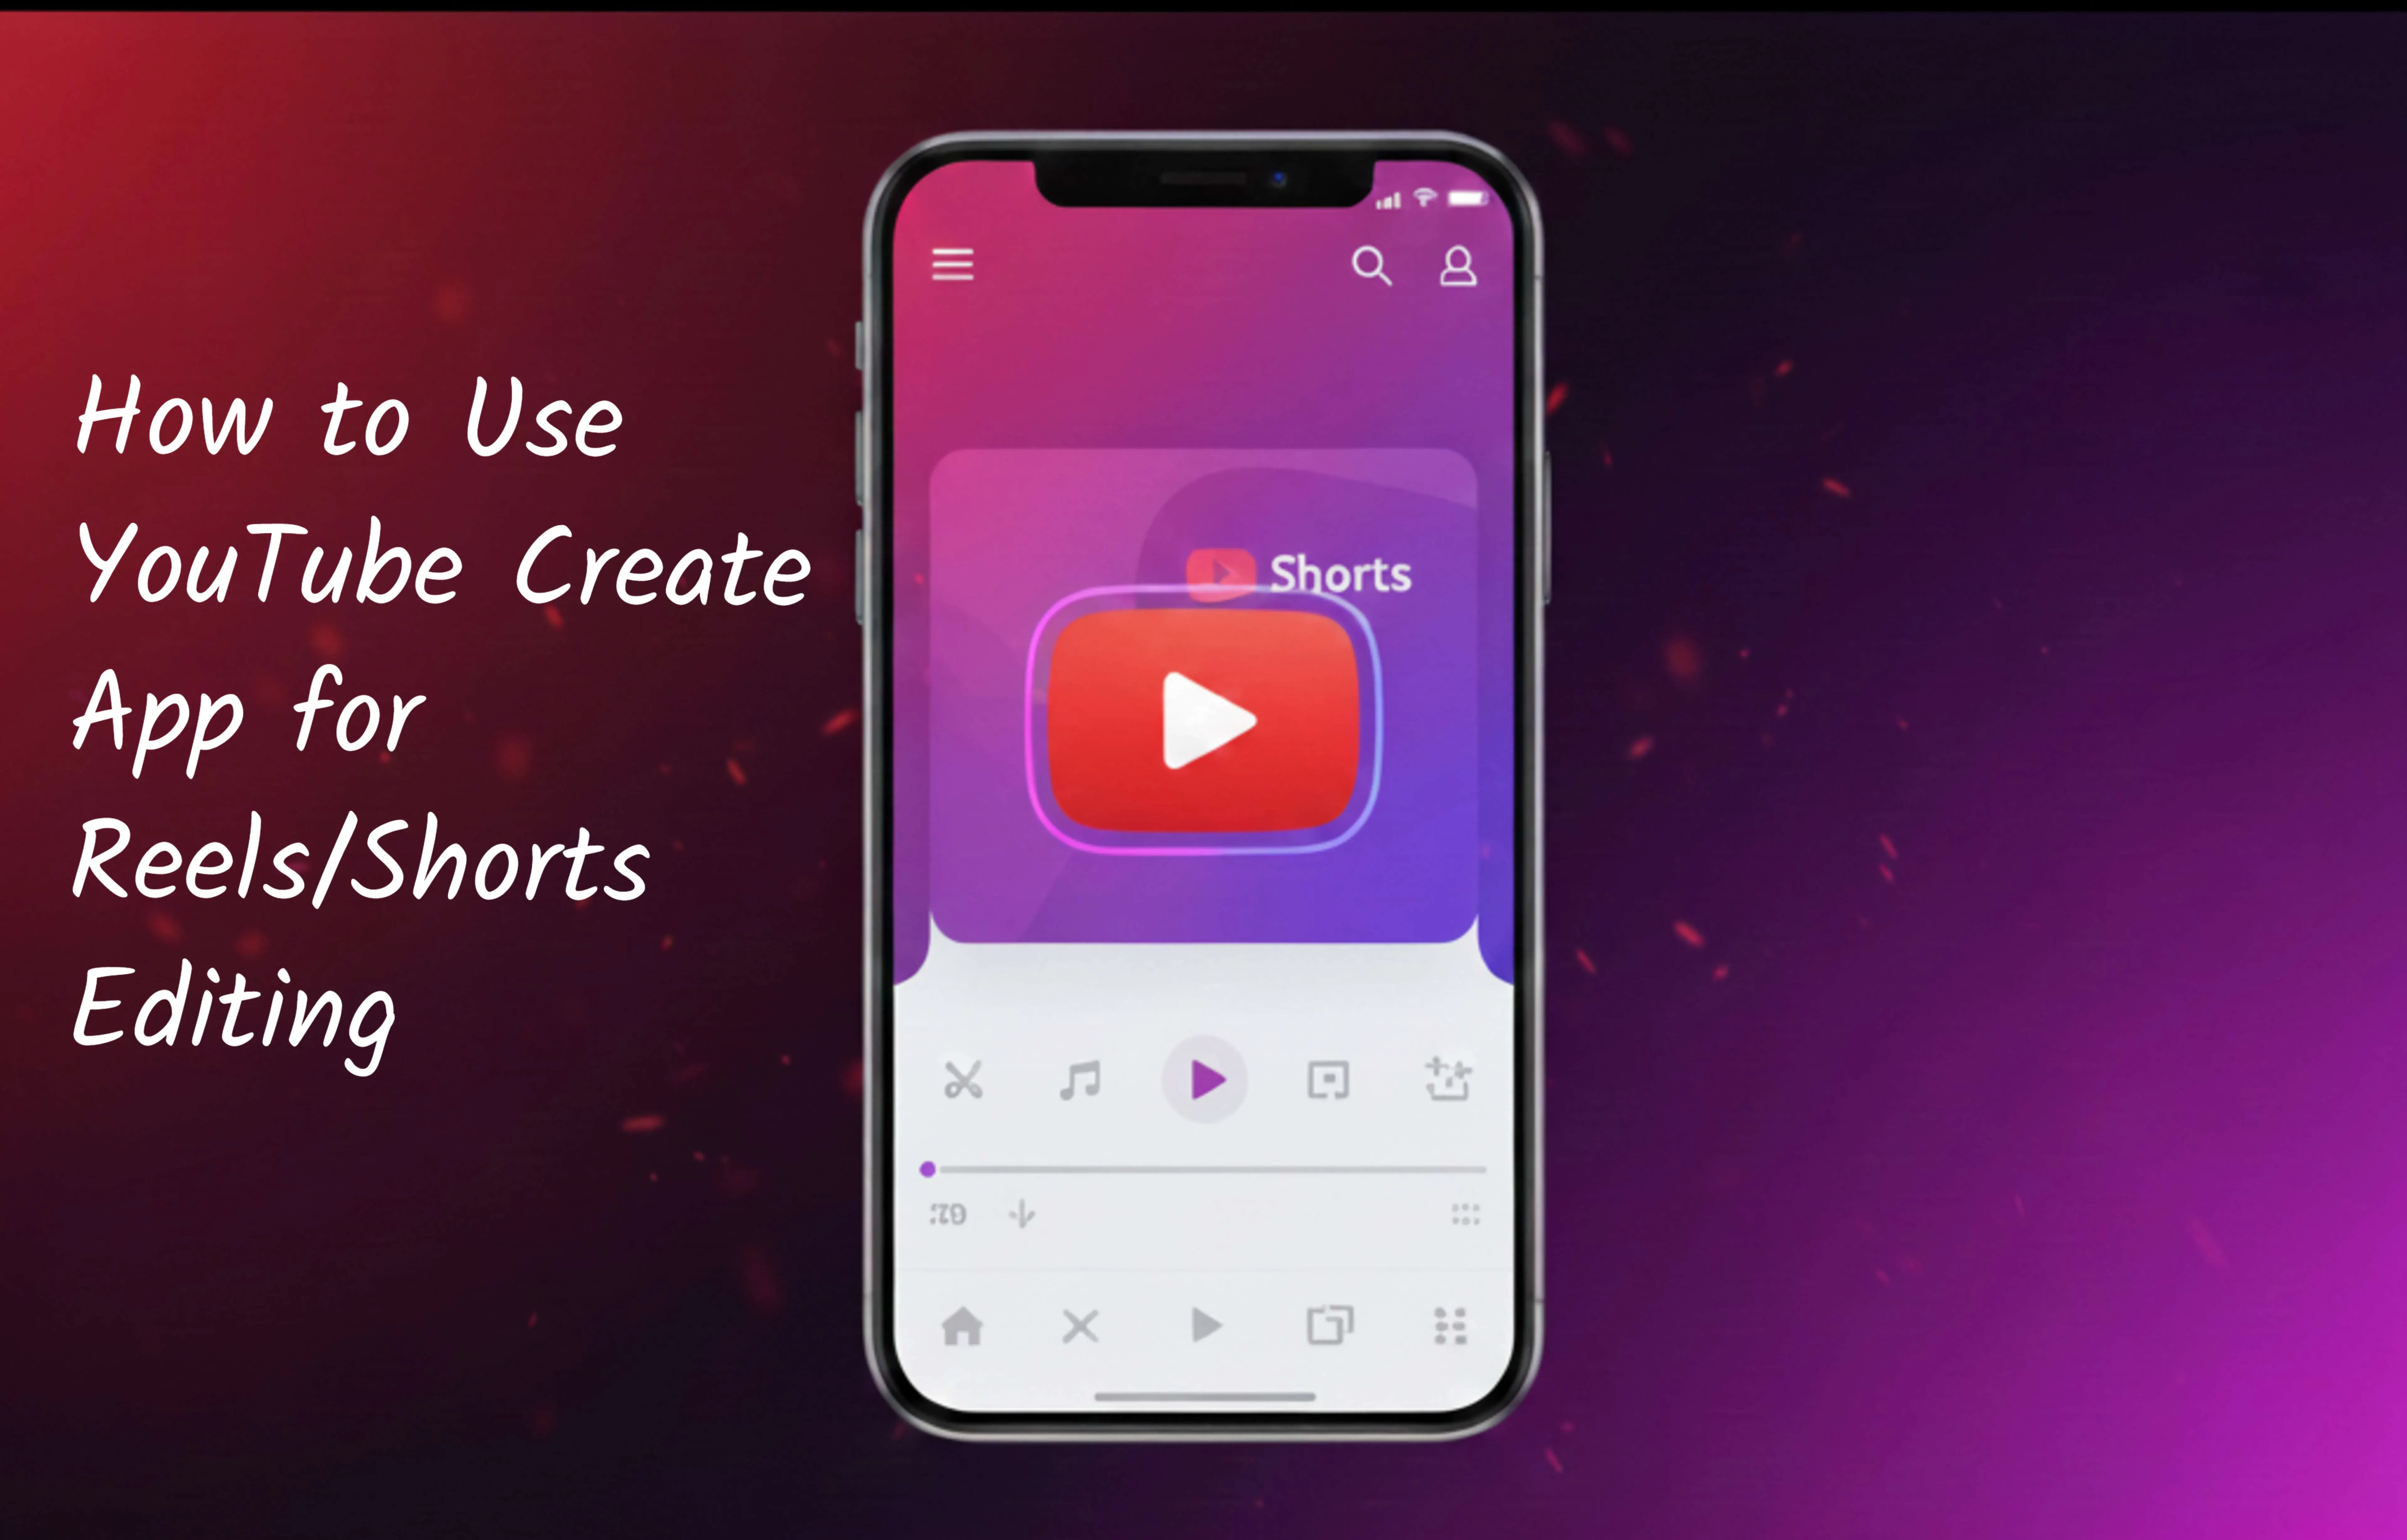
How to Use YouTube Create App for Reels & Shorts Editing (2025 Tips)
The YouTube Create app has become one of the most popular editing tools for Reels and Shorts in 2025. Its simple interface, AI-powered editing tools, copyright-safe music library, effects, filters, and smooth exporting make it a top choice for creators. Whether you're a beginner or a social media editor, learning how to use the YouTube Create app effectively will help you create high-quality short videos quickly. This 2025 updated guide explains every feature, tool, and editing step in a simple way so you can edit Reels and Shorts professionally.
1. What Is YouTube Create App?
YouTube Create is YouTube’s official mobile editing app, designed for creators who make Shorts, Reels, TikToks, and vertical videos. It gives creators a free, easy, and powerful editor with all essential tools like:
- Timeline editing
- AI auto-captions
- Transitions & filters
- Royalty-free music verified by YouTube
- Stabilization & noise reduction
- Green screen and cutout tools
The app works offline for basic functions and supports export up to 1080p for Shorts.
2. Key Features of YouTube Create App
Here are the most useful features YouTube Create offers in 2025:
- Multi-layer editing with video, audio, text, stickers, and overlays
- Auto captions in multiple languages
- YouTube-safe music library that removes copyright issues
- AI beat sync to match clips with music
- Green screen background removal
- Auto cut to remove silent or unwanted parts
- Stabilizer for shaky videos
- Transitions like zoom, spin, glitch & swipe
These tools make the app perfect for fast and aesthetic editing.
3. How to Set Up the App (First-Time Setup)
- Download YouTube Create from Google Play Store.
- Open the app and sign in with your Google account.
- Allow storage and microphone permissions.
- Choose your preferred editing language.
- Enable “Auto Save Drafts” to prevent progress loss.
Your YouTube channel will sync automatically, making uploads easy.
4. How to Import Clips for Reels/Shorts Editing
To start editing:
- Tap Create New Project.
- Select Shorts (9:16) format.
- Choose videos from your gallery.
- Arrange clips in the timeline by dragging them.
For best results, keep your Shorts/Reels between 8–12 seconds for maximum engagement.
5. All Editing Tools Explained
✔ Trim & Cut
Use the scissors icon to cut unwanted parts. Perfect for removing pauses, mistakes, or extra footage.
✔ Split
Tap Split to divide clips into multiple sections. Useful for adding transitions or effects in the middle.
✔ Speed Control
Adjust clip speed from 0.2x to 3x. Slow-motion and hyperlapse styles work great for dramatic scenes.
✔ Auto Cut (AI Tool)
This AI tool removes silence and unusable parts automatically. Saves a lot of time for talking videos.
✔ Stabilization
Fix shaky videos instantly. Great for vlogs and outdoor shooting.
✔ Background Removal
Use the cutout/green screen to remove your background without a green screen.
✔ Overlay Tracks
Add multiple layers:
- Text
- Images
- Stickers
- Videos
6. Using Music, Voiceovers & Sound Effects
✔ Add Music
- Tap Music.
- Choose from “Trending,” “Beats,” or “Vlogs.”
- Tap Beat Sync to match cuts to the music.
✔ Add Sound Effects
You get SFX like whoosh, pop, glitch, swipe, bell, etc.
✔ Add Voiceover
Tap Mic → record → adjust volume → add reverb/noise reduction.
7. Effects, Filters, Text & Transitions
✔ Transitions
YouTube Create offers smooth transitions such as:
- Swipe
- Zoom
- Spin
- Glitch
- Crossfade
Use transitions only when necessary to avoid over-editing.
✔ Text & Captions
Add text layers for titles, subtitles, highlights, or keywords.
- Choose fonts
- Animate text (fade, pop, slide)
- Add shadows & outlines
✔ Auto Captions
Enable auto captions for increased engagement. Captions help viewers who watch without sound.
✔ Filters & Color Grading
Use filters for aesthetic looks or color correct using brightness, contrast, and saturation controls.
8. How to Export Your Final Reel/Short
Once editing is done:
- Tap Export.
- Select resolution:
- 720p (fast upload)
- 1080p (best quality)
- Choose frame rate (recommended 30fps for Shorts).
- Save to device or upload directly to YouTube Shorts.
You can also export in vertical 9:16 format for Reels and TikTok.
9. Best 2025 Editing Tips for Reels/Shorts
✔ Keep clips short & engaging
The first 1–2 seconds decide whether users swipe or stay.
✔ Add jump cuts
Jump cuts improve pacing and keep attention high.
✔ Use beat sync
Matching the video with music dramatically increases retention.
✔ Add subtitles
More than 70% people watch without sound—captions help a lot.
✔ Use the rule of three
Break content into three quick points for higher clarity.
✔ Make the last second impactful
Add a hook, punchline, or CTA like “Follow for more.”
✔ Maintain a consistent style
Use similar fonts, colors, and transitions across videos.
✔ Shoot vertically
YouTube Create works best with crisp vertical footage.
10. Conclusion
The YouTube Create app is one of the easiest and most powerful mobile editors for Reels and Shorts in 2025. With features like AI auto captions, beat sync, multi-layer editing, SFX, and smooth exporting, you can edit high-quality content even without a PC. Whether you're a beginner or an advanced creator, mastering YouTube Create will help you produce engaging and professional short videos faster than ever. Start experimenting with transitions, music, effects, and captions to elevate your short-form content today.